Homemade Mozzarella
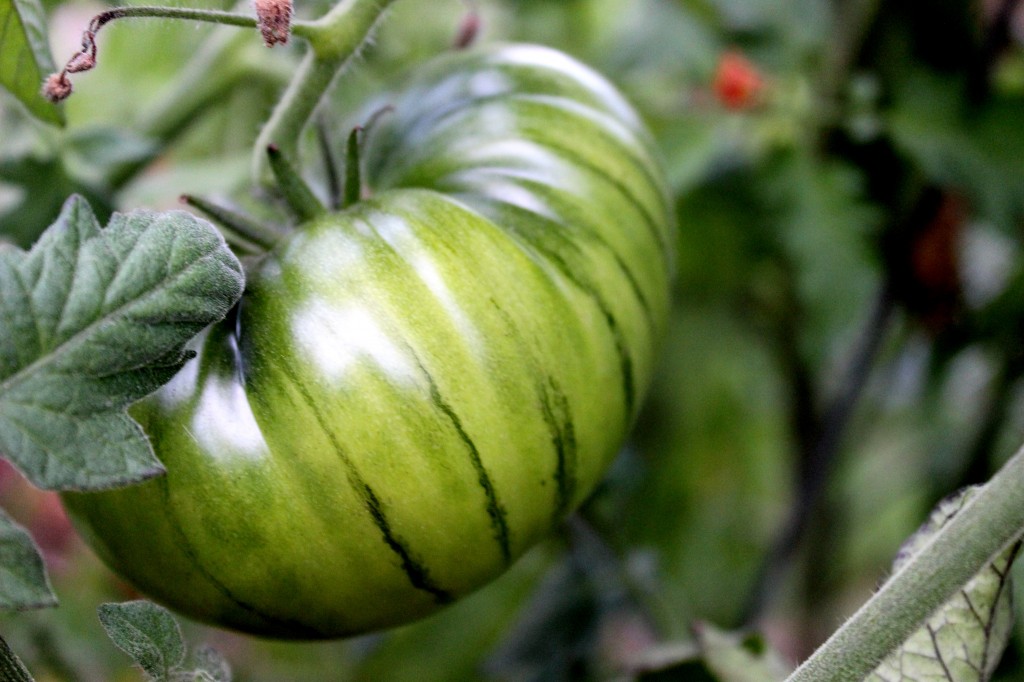
I don’t know about you, but tomatoes are happening RIGHT NOW. Every day there are more to pick, and still so many greens ones on the vines. They are starting to pile up in my kitchen. I know… It’s a fantastic problem to have. My favorite way to eat tomatoes is on a BLT, but even simpler, (yes, simpler than a 3-ingredient sandwich) is tomatoes and fresh mozzarella.
Believe it or not, anyone with a stove can make it and I’m going to show you how. And it only takes five ingredients.
First, the milk: I was surprised to learn that almost any gallon of whole milk from the grocery store will work, just make sure it’s not “ultra pasteurized”. If you can get local milk, that’s great, but it does not have to be. And if you happen to have raw milk, that’s awesome, but I don’t reccommned using it with this recipe. It could create a food safety issue.
Next, you need citric acid and rennet. You can get both online or here in Portland at F.H Steinbart Co. (known for beer and wine supplies) or Mr. Green Beans. I have rennet tablets that I dissolve in water, but if you can get liquid, that would be easier. The recipe recommends using filtered water or boiling first. I don’t normally do this because I’m lazy, but I think it does effect the shape of my final product. Last, a couple tablespoons of kosher salt.
You’ll need a few tools, but most you already have in your kitchen: a big soup/stock pot (at least a gallon and a half in volume), slotted spoon, metal collander, and a thermometer. The only think I had to buy was heat-proof gloves. I was cheap and made my own by layering dishwashing gloves over gardening gloves.
Ok. Are you ready? You can do this! It’s easy, fast and there’s great opportunity to make jokes about “cutting the cheese”. Here we go!
HOMEMADE MOZZARELLA
Adapted from “The Homemade Pantry” by Alana Chernila
Ingredients:
1 1/2 tsp citric acid
1 1/4 cups cool water (filtered or boiled)
1 gallon whole milk (not ultra-pasturized)
1/3 tsp liquid rennet, or 1/4 of a tab
4 Tbs kosher salt
1) Ice the bottom of a large, heavy pot. Combine the citric acid with 1 cup water in a 2-cup measure. Add the milk to the pot. Slowly pour the citric acid mixture into the milk, gently stiring with a slotted spoon for 15 seconds. Set the pot over medium heat, attach a cheese or candy thermometer and heat the milk to 90 degrees, stirring every 2-3 minutes. This should take about 10 minutes total. The milk will begin to curdle (this is good). Once at 90 degrees, remove from heat.
2) Combine the rennet with the remaining 1/4 cup water in the measuring cup. Pour the rennet mixture into the milk, and gently stir with a scooping motion for 30 seconds. Cover the pot and let sit for 5 minutes. The curds will solidify into one mass that looks like tofu or custard. Press your finger about 1/2 inch into the curd. If it comes out mostly clean the curd is ready to cut, if not let sit for 2 more minutes.
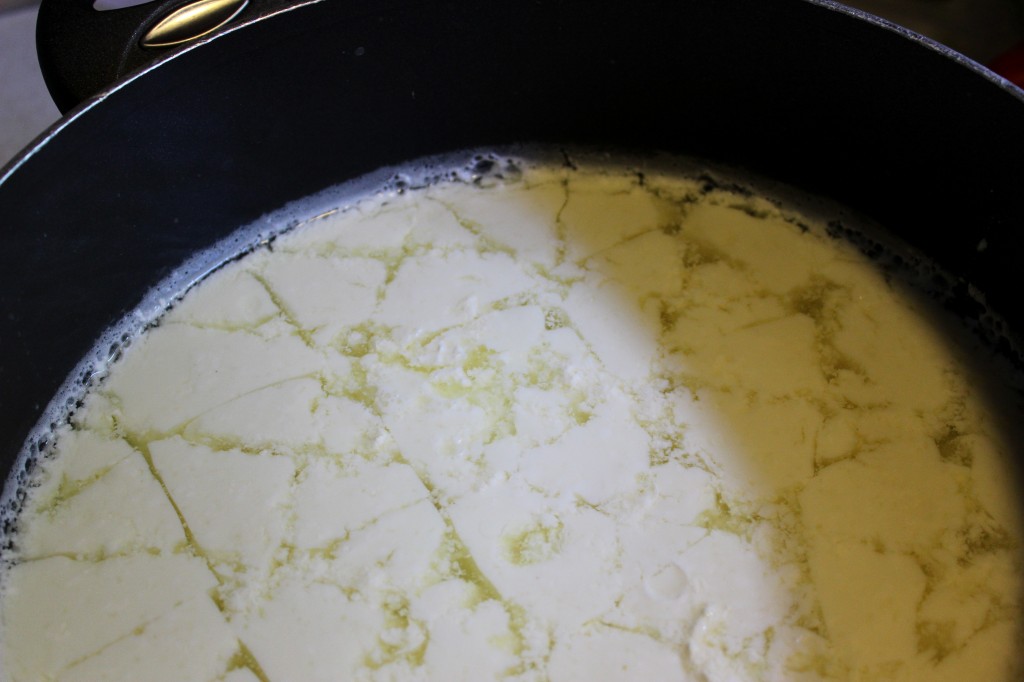
3) With the curd still in the pot, cut it into 2-inch cubes: drawing a long knife through the curds towards you. Continue with parrallel cuts 2-inches apart. Turn the pot 90 degrees, and repeat so you have a grid. Cubes of curd will float in the whey.
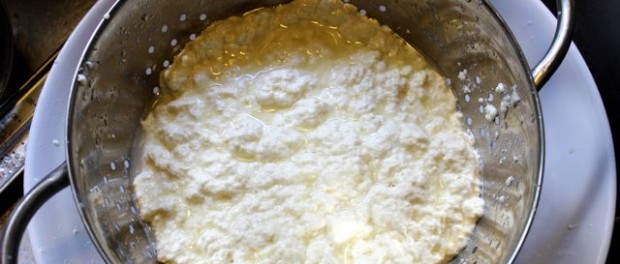
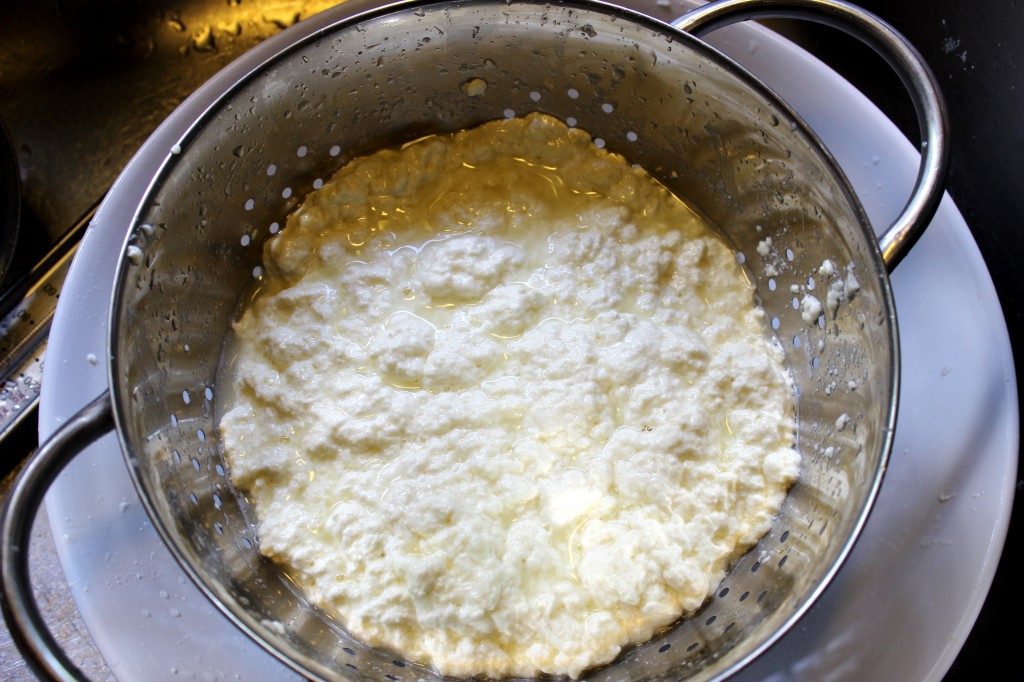
4) Return the pot to medium heat and stir the curds gently with a slotted spoon as you heat the whey to 110 degrees. Remove from heat. Set a metal colander over a large mixing bowl and gently transfer all the curds into the colander. Set the curds aside.
5) Return the pot of whey to medium-high heat. Add the salt then heat the whey to 170-degrees. This should take about 10 minutes. If there is any whey in the mixing bowl add it to the pot. Reduce the heat to medium to keep the whey between 165-180 degrees for the next step.
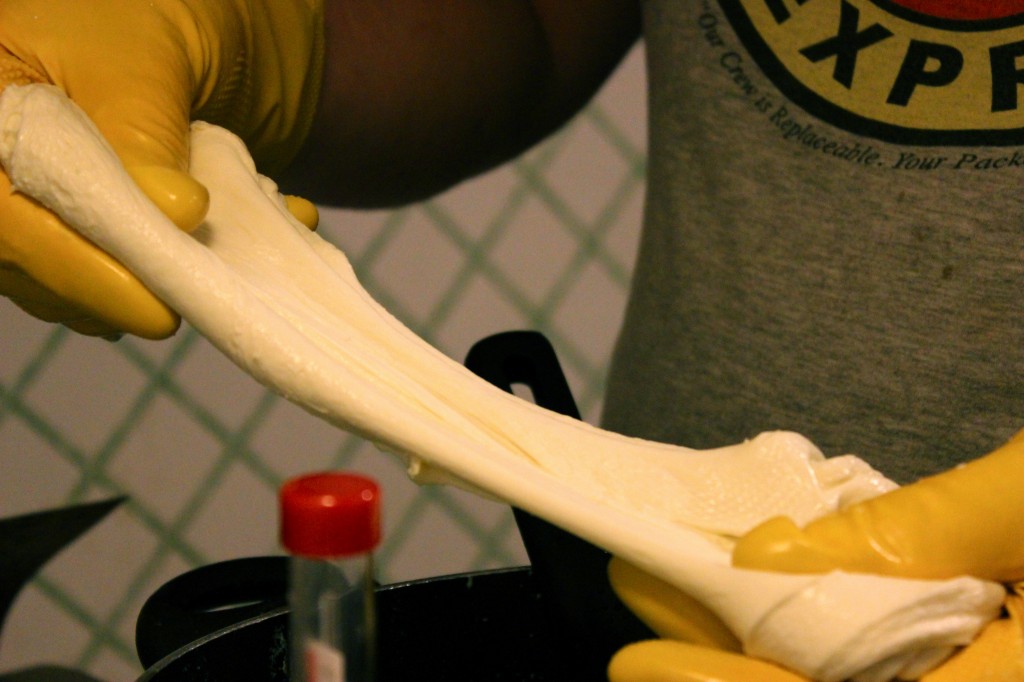
6) Transfer half the curds to another bowl and set aside. Submerge the colander with the curds inside in the pot of whey until they turnglossy, about 1 minute. Put on heat-proof gloves to pick up the curds and squeeze them into a ball. The ball will release whey as you squeeze. Put the ball of cheese back into the hot whey for 1 minute. Then stretch it between your hands, folding it back on itself. Put the cheese back into the hot whey and repeat the process up to 3 times until the cheese is soft, glossy and holds together when you stretch it up to 12 inches. The surface of the cheese should be smooth. When you have reached this consistancy, the mozzerela is ready to eat or store. Repeat the process with the second half of the curds.
7) If you would like to store the cheese, put the balls in a bowl, cover with cool water and let sit for 5 minutes. Then add ice cubes, and keep the moozzerella there for 30 minutes. Remove the cheese from the water and transfer to a covered container.
Keeps in the fridge for 4 days.



Ooo, homemade mozz! What a great idea! I’ll have to find some time to try this out- I’ve only done ricotta and goat cheese as they seem less intimidating than having to pull hot mozzarella cheese