Project: Strawberry Jam
Everybody in Portland loves the summers. They’re the reason we all stick around through the other nine months of grey skies and rain. I think you may even be able to make that case that the northwest has the best summers in the country. No extreme heat, no humidity, cool nights, warm days. Perfect.
And al this great weather is starting to pay off, with one of my favorite parts of the summer: fresh berries! I get a little crazy for them in the summer. My husband and I try to go picking once a week and we took our first trip last Thursday. Our favorite place is Sauvie Island Farms, but they close a too early for us, so this time we are went to Kruger Farms which is open until 8pm on weeknights.
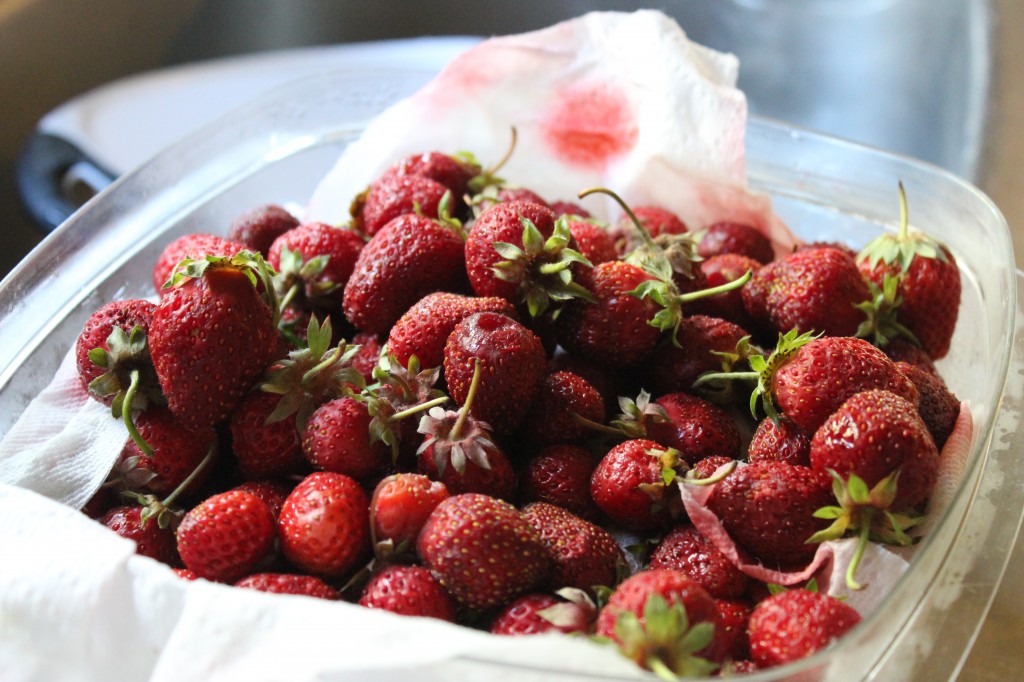
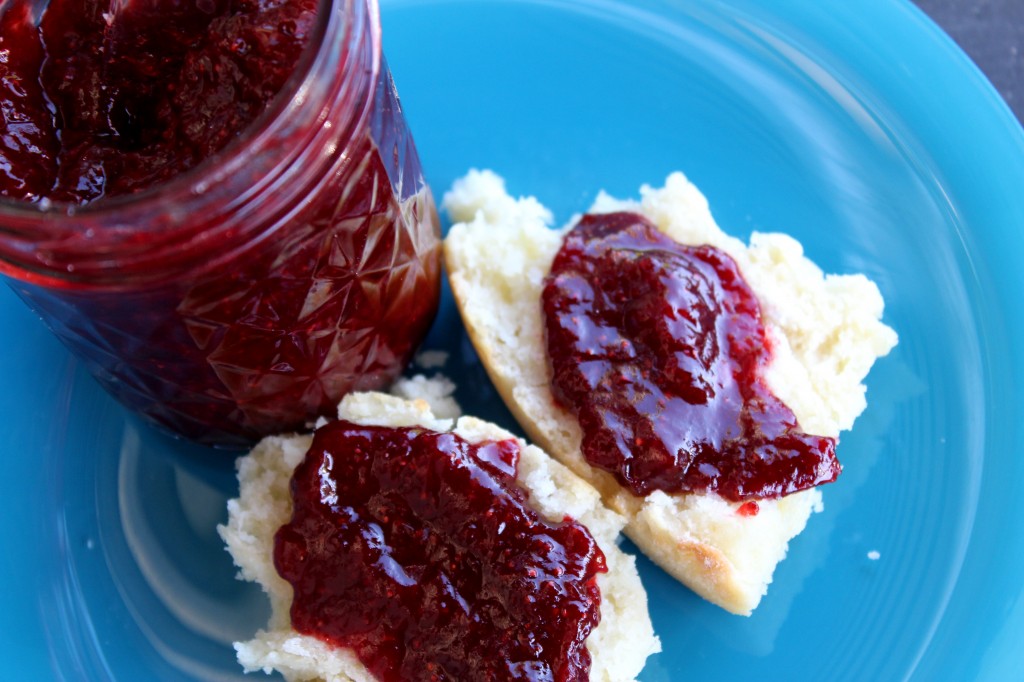
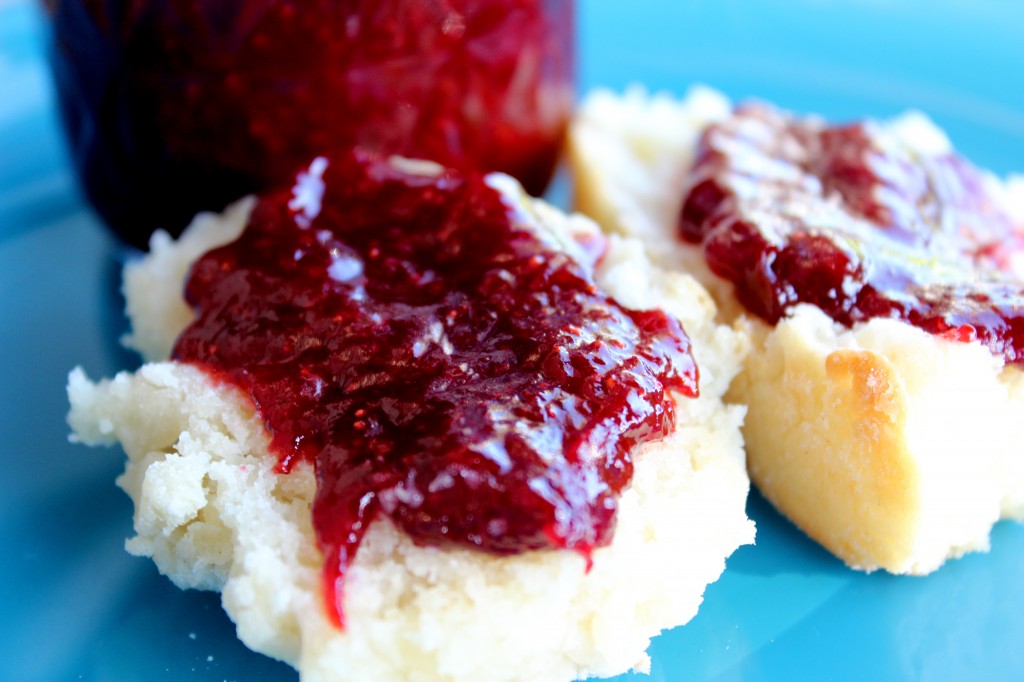
The farm was practically empty. We picked 14 pounds in just under an hour! I made some strawberry margaritas, ate a bunch for breakfast, then canned 4 jars of jam. The recipe I use is called “Classic Strawberry Jam”, it only has 3 ingredients: strawberries, sugar and lemon juice. That’s it! No pectin. Strawberries actually make their own pectin if you cook them long enough.
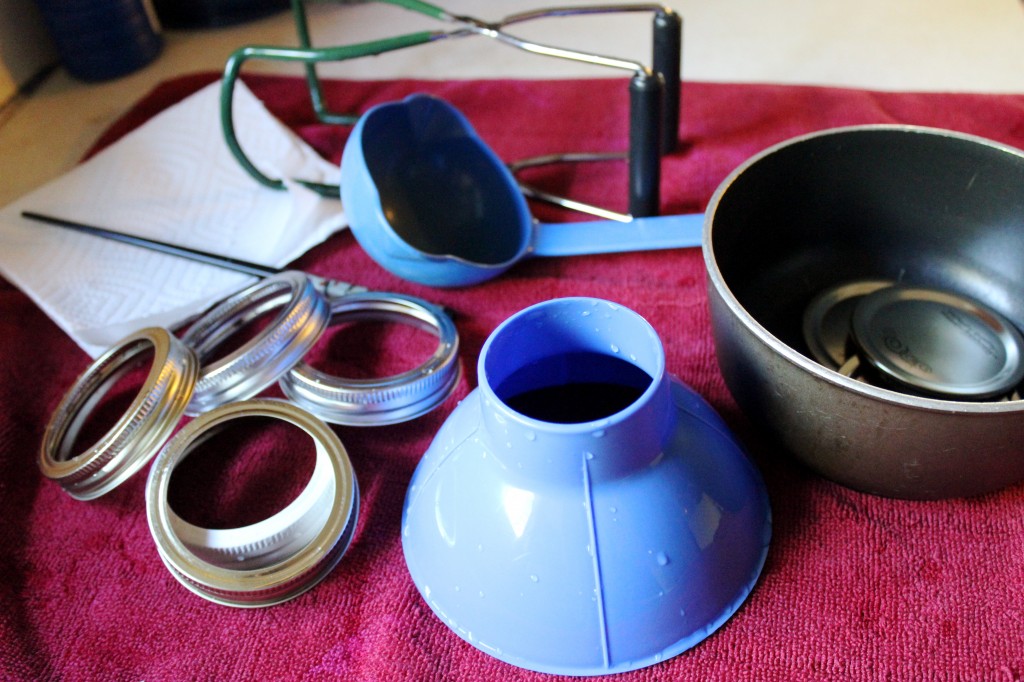
I’m not going to get into the entire canning process. I’m not really an expert, and while jam is very unlikely to lead to a foodborne illness, I don’t want to give any wrong advice. But I will share a few resources if you want to give it a try (and I highly recommend you do). My favorite book is called “Put ’em Up!” by Sherri Brooks Vinton. It’s where I got this recipe, but I also recommend Ball’s “Blue Book: Guide To Preserving”.
Classic Strawberry Jam
From Put ’em Up! by Sherri Brooks Vinton
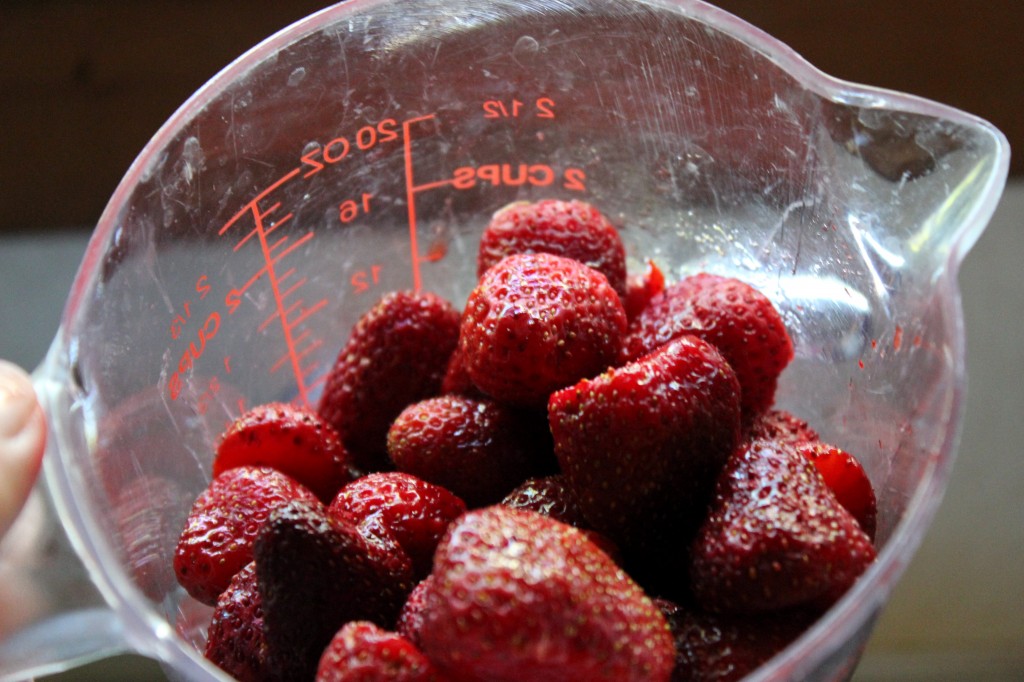
8 Cups Strawberries, hulled and halved
2 Cups sugar
1/4 Cup bottled lemon juice
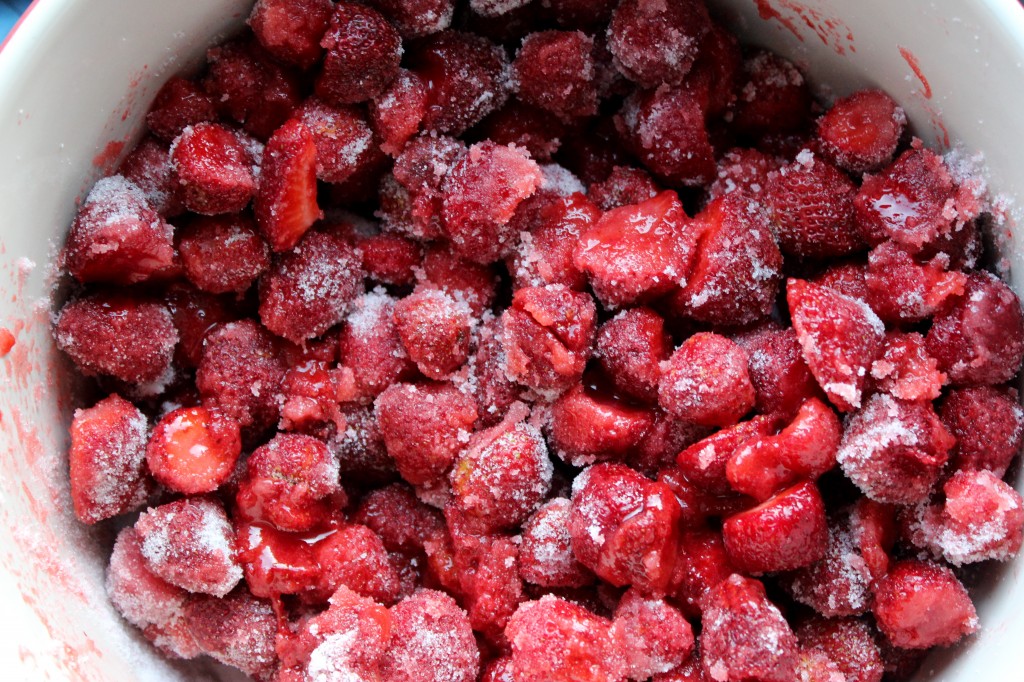
1) Toss the strawberries and sugar in a large bowl and macerate overnight to coax out the fruit’s juices.
2)Transfer the mixture to a large nonreactive saucepan. Bring to a boil, stirring and crushing to realease the juice. Stir in the lemon juice. Continue to cook, stiring frequently, until the jam reaches the desired gel, about 20 minutes. ***Remove from heat and let jam rest for 5 minutes, stiring ocasionally to release air bubbles. Skim off any foam.
3) Refridgerate: Ladle into bowls and jars. Cool, cover, and refridgerate for up to 3 weeks.
***A good way to test for gel: Before you start cooking your jam, put a plate in the freezer. When you are ready to test, take the plate out and drop a few drops of the hot jam on it. In a few seconds it will cool, giving you a good idea of how runny your jam is. Continue cooking to your own preference.


Leave a comment